Landmine deadlifts are awesome for accessory work. Think of accessory work as the sides to your entrée, with your entrée being either a deadlift, a bench press, or a squat.
Landmine deadlifts are really effective at mimicking the movement of a deadlift. They’re also just fun to do.
For this exercise, you are going to need a landmine. A landmine is a barbell that is anchored into place at one end. If your gym doesn’t have one, an alternative is to just put a barbell into a corner.
The only other item requirement is a weight plate or two. Thank goodness for easy setups.
Note: All photos taken are mine.
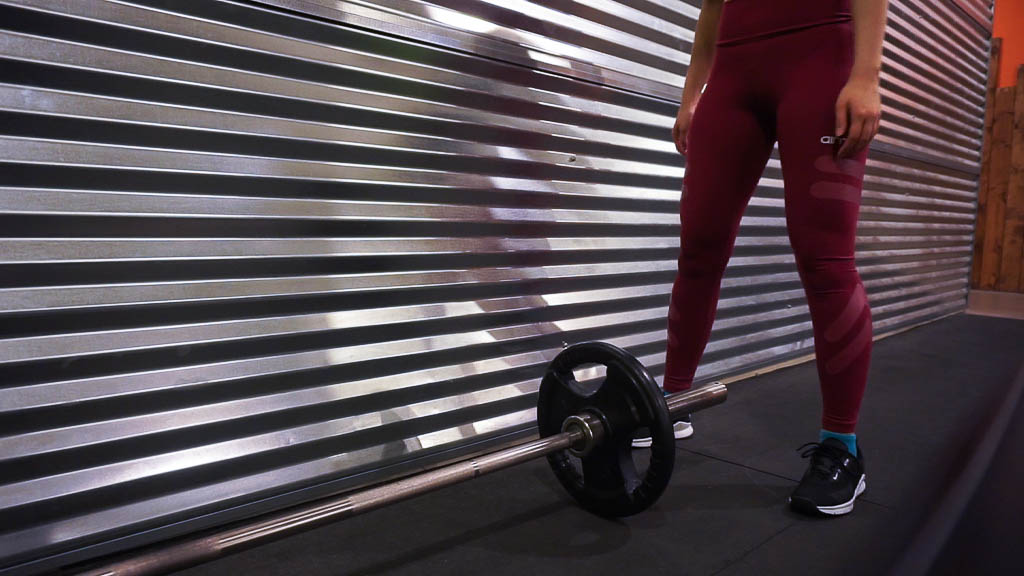
Photo 1
1. Put your weight plate on the barbell.
2. Stand shoulder width apart.
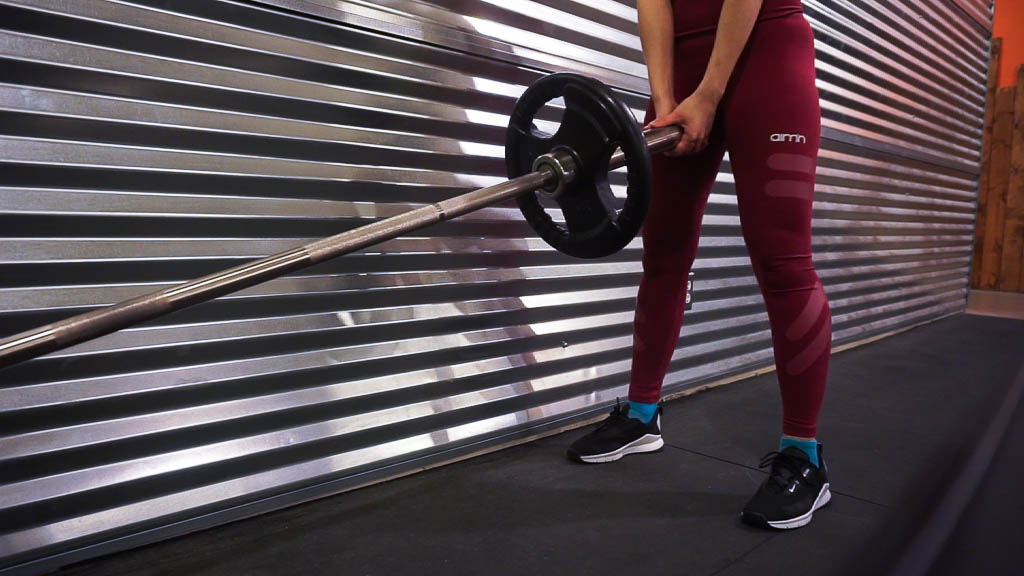
Photo 2
3. Interlace your fingers and grab the end of the landmine.
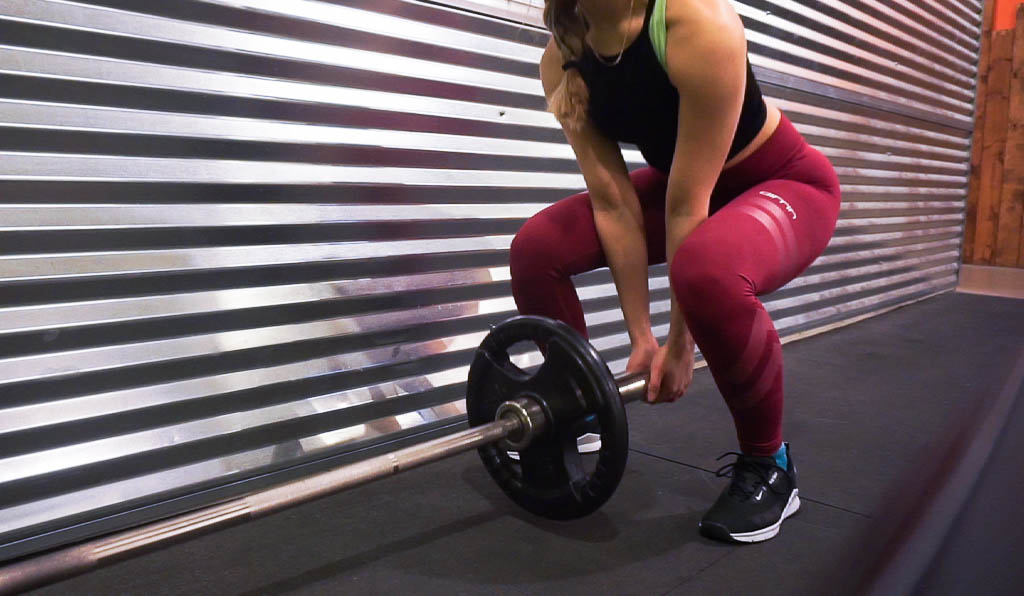
Photo 3
4. Lift the barbell.
Photo 4
5. Bend your knees, making sure you are not parallel to the ground, but instead have your butt a little bit higher.
6. Straighten your legs out again to finish the move.
Congratulations! You just performed a landmine deadlift. I recommend doing 3 sets of 8. When it comes to the amount of weight, just do whatever you feel most comfortable with. Make sure to add more weight as you get better at the movement.
The hip thrust is my favourite exercise. Not only is it wildly popular for aesthetic reasons, but it also helps in making you stronger!
Note: All photos are taken by me.
The hip thrust set up.
First you are going to have to gather the following basic items: a barbell, a weight collar/clamp, and some bumper plates (descriptions of these items can be found on my ‘Deadlifting for Beginners’ blog post here).
You are also going to have to get a yoga matt (which you can fold into a comfy pad) or a thick foam barbell pad, and a bench that sits comfortably at the middle of your back when you sit on the floor in front of it.
Photo 1
1. Make sure the bench will not move when you put your weight on it. This means putting weight plates down behind it or putting the bench up against a wall.
2. Put your pad on your barbell or put your folded matt on your hips.
Photo 2
3. Roll the barbell towards you.
4. Bend your knees and bring your feet closer to you. They should be close enough that when you perform the movement, your knees form a right angle. Feet placement doesn’t really matter here, so find what’s comfortable for you. I personally find that feet that are hip width apart work best.
5. Place the barbell on your hip crease. Make sure it is comfortable on your body.
6. Position your back so that the bench is at the middle of it. You may have to lift yourself up higher on the bench in order to have more back support.
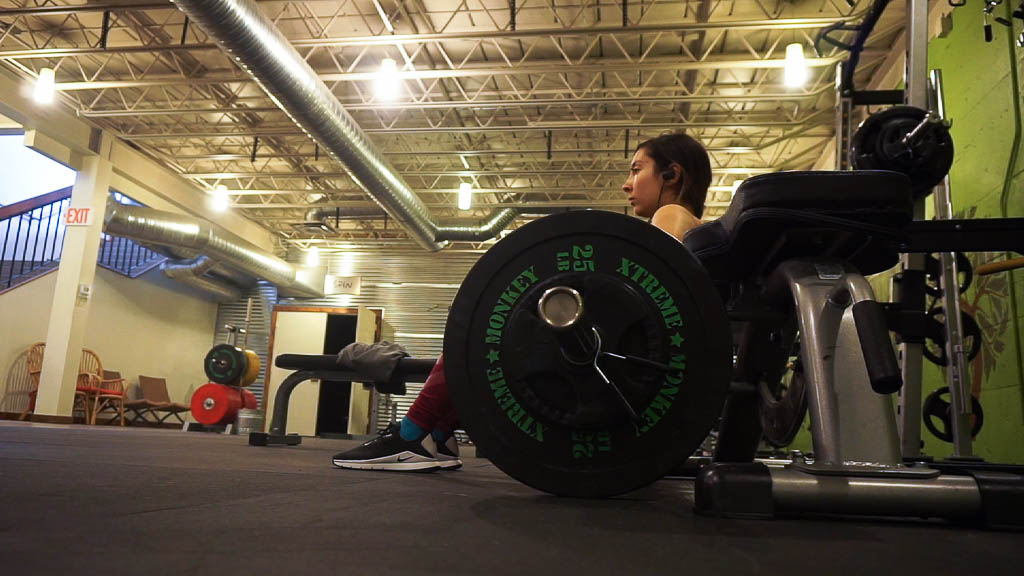
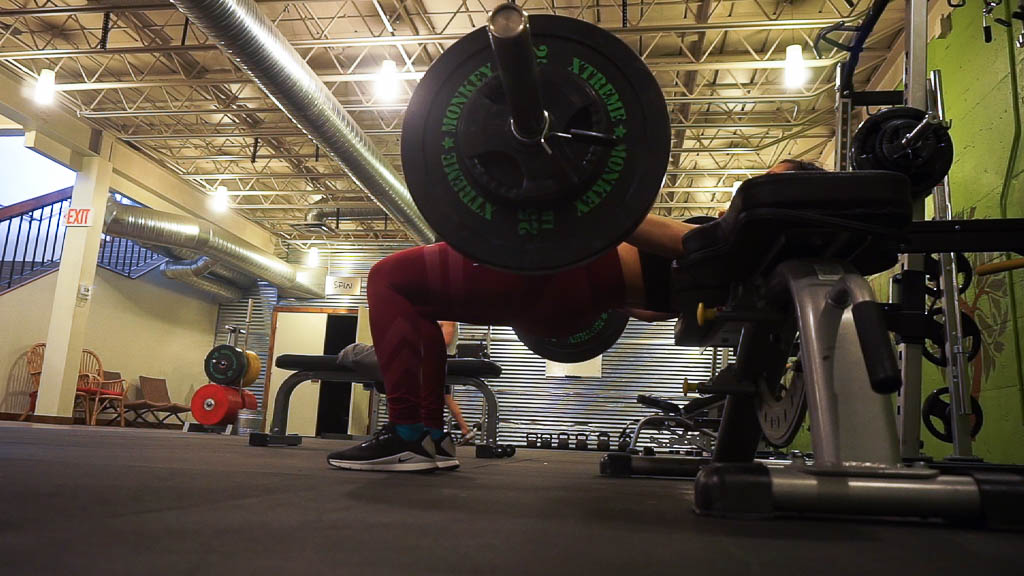
Photo 3
7. Keep your chin down and drive up with your hips. You should feel your butt muscles working at this point.
8. Hold for one count at the top of the movement.
9. Let your hips come back down.
Congratulations! You just performed a hip thrust! I recommend doing 8 sets of 6 repetitions. Regarding weight, beginners should start with just the bar and then slowly add on 10 pound weight plates as they get better at hip thrusting.
Before I begin with this post, I’ll share a little backstory. When I first started actively lifting, I would be completely lost every time I stepped in the gym. I didn’t know any of the basics and found myself spending more time being confused from the setup of certain lifts, rather than the lift itself.
That being said, I decided to make this tutorial for any new athlete who may be intimidated by deadlifts!
Note: All of the photos in this post were taken by me.
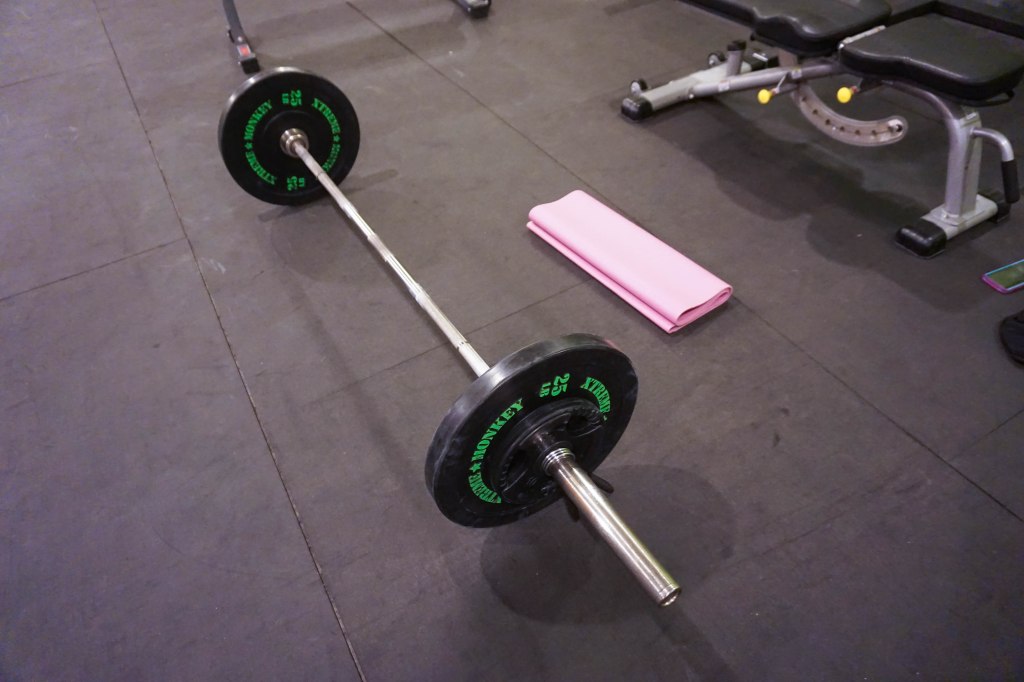
The basic deadlift setup.
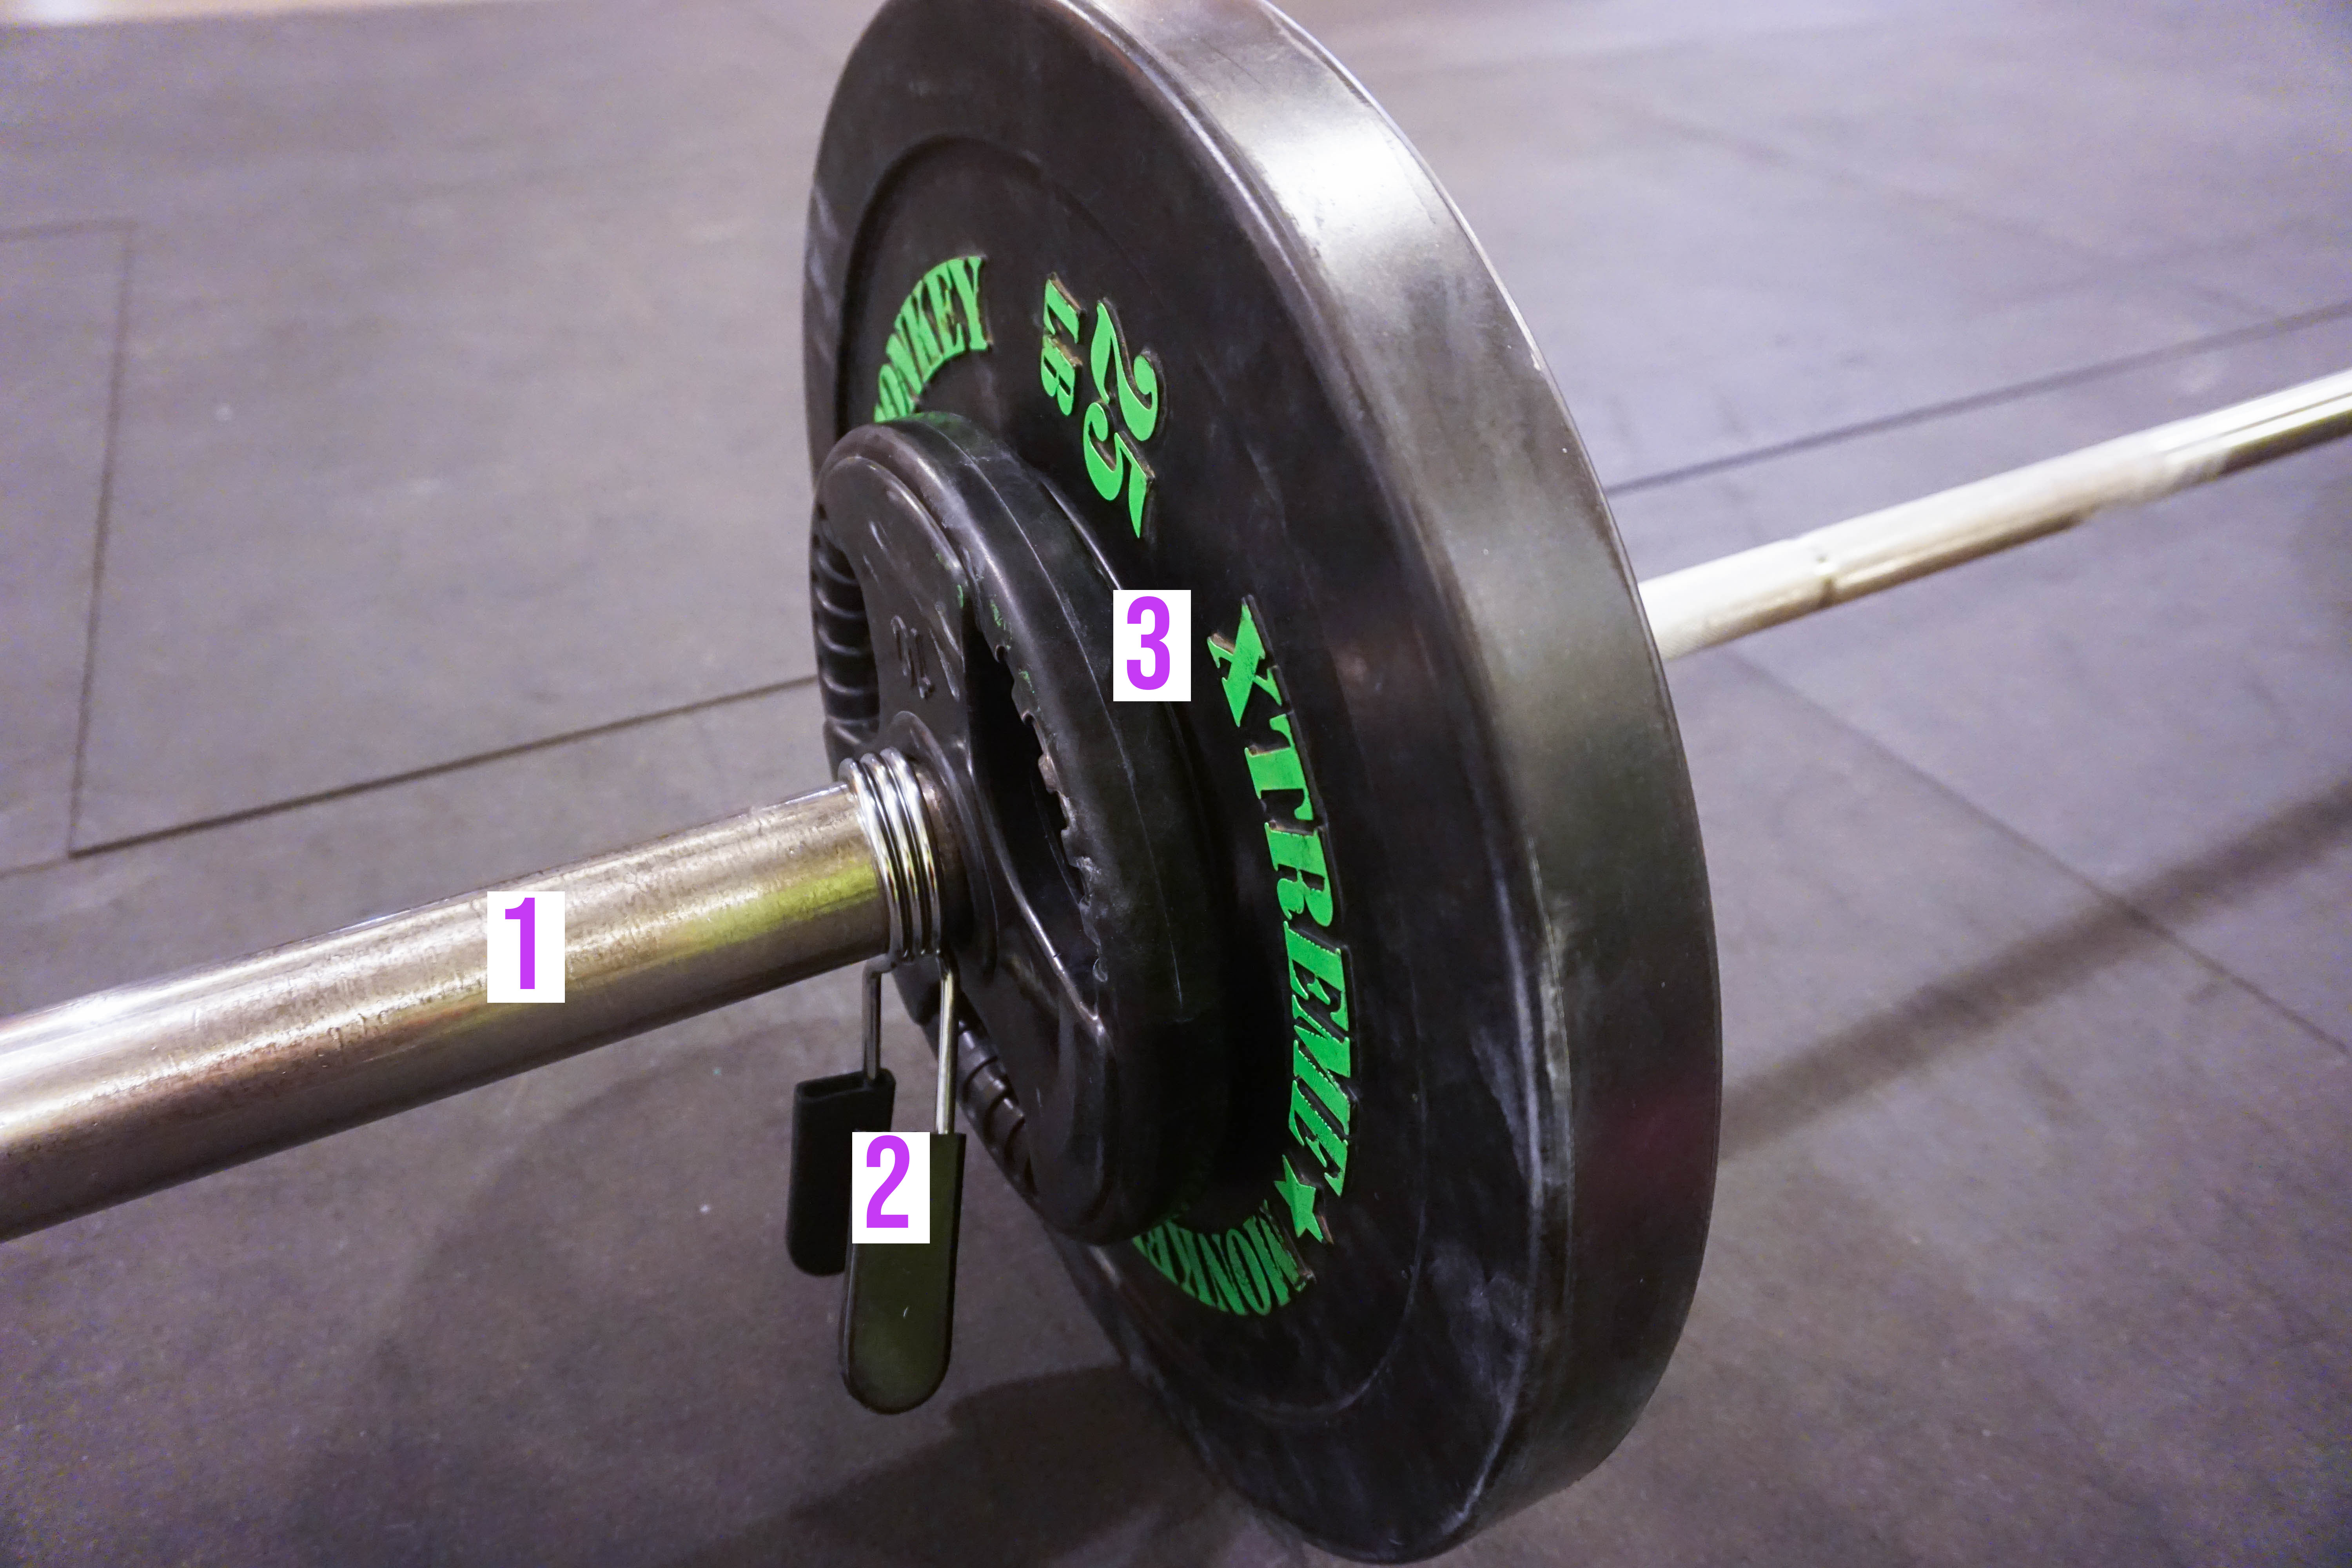
The first thing we need to do is gather our equipment. We will be using the photo above as reference.
The first item that we need is a barbell, which is shown on the picture as ‘1’. Barbells can be found on any squat rack or they may be located in a barbell holder (these can be vertical or horizontal).
The second item we need is a barbell collar/clamp, which is shown on the picture as ‘2’. These make sure that the plates don’t move around every time they hit the ground.
The last items we need are weight plates (preferably bumper plates, which look like 45 pound plates, but can come in lighter weights), which are shown on the picture as ‘3’. Beginners can start with just the bar for the first few sets of deadlifts, or else use 10 pound bumper plates. It is important to master the movement before you move onto heavier weights in order to avoid injury.
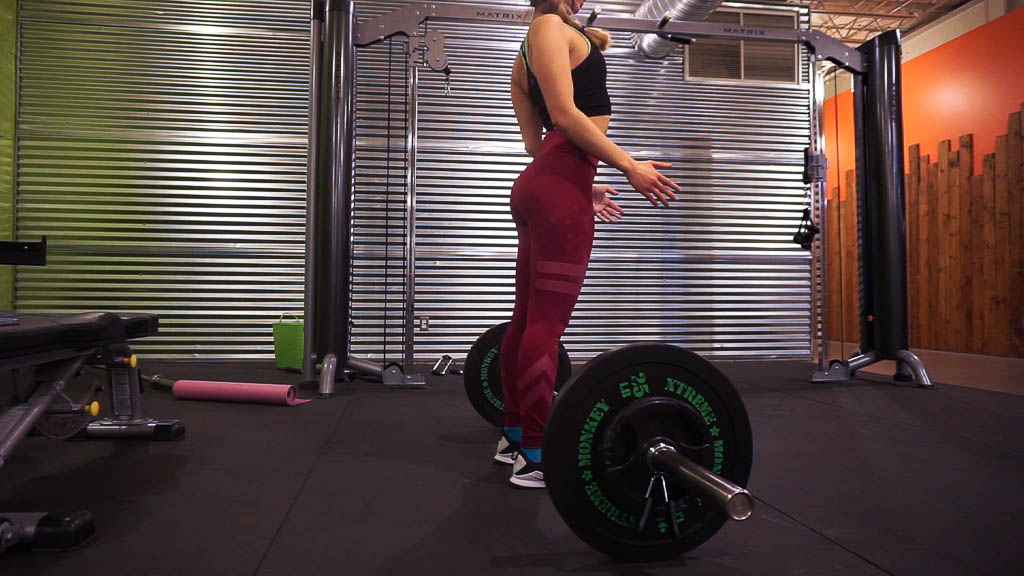
Photo 1
After setting up for our deadlift, we can finally begin the movement.
1. Stand under the bar with your feet shoulder width apart.
2. Make sure that the bar is aligned with the middle of your feet.
Photo 2
3. Grab the bar with a hook grip (in other words, both hands are overhand).
4. Bend your knees until your shins touch the bar. You want to make sure that your butt is NOT parallel to the ground, but is instead a little higher.
5. Move your hands in closer to your body so that your forearms are just touching the sides of your legs. You want to keep your body tight.
6. The most important cue in this movement, in my opinion, is to make sure that you feel the weight on your heels, not on the balls of your feet. You can achieve this by shifting your weight backward a little. You shouldn’t feel like you are going to fall over backwards, but you should instead feel that there is a comfortable amount of pressure on your heels. You are going to pull this weight with your hamstrings, so this cue will help to make sure you do that, and not with your lower back. Also, make sure to keep your back straight with a neutral neck! Don’t cock your head up, but instead look forward at the ground, as shown in the picture.
Note: If you can’t find get a good grip on the bar, make sure you use chalk on your hands beforehand. Liquid chalk is preferred, as it makes less of a mess than the normal kind.
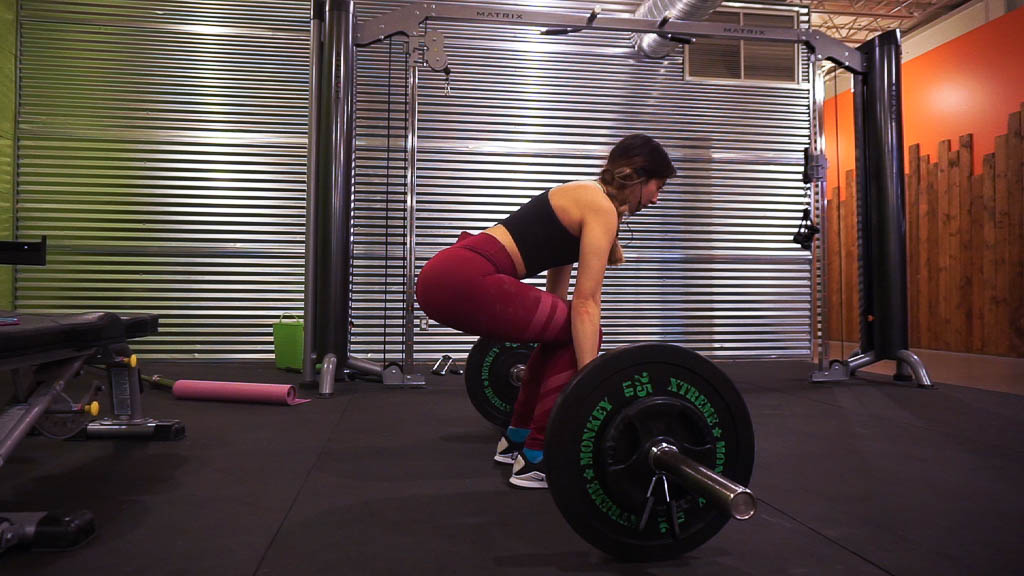
Photo 3
7. Drive forward with your hips, while pushing down through your heels. You will definitely feel your hamstrings work during this part.
8. Bend your knees and lower the weight down until it is passed your knees. After this, you can let the weight fall to the ground (while still holding it), and return to the same position as Photo 2. Make sure not to just drop it from the top of the movement!
Congratulations! You’ve just performed your first deadlift. I recommend doing 5 sets of 5 repetitions. Practice makes perfect, so stay consistent and you will find yourself becoming stronger with every set.