The hip thrust is my favourite exercise. Not only is it wildly popular for aesthetic reasons, but it also helps in making you stronger!
Note: All photos are taken by me.
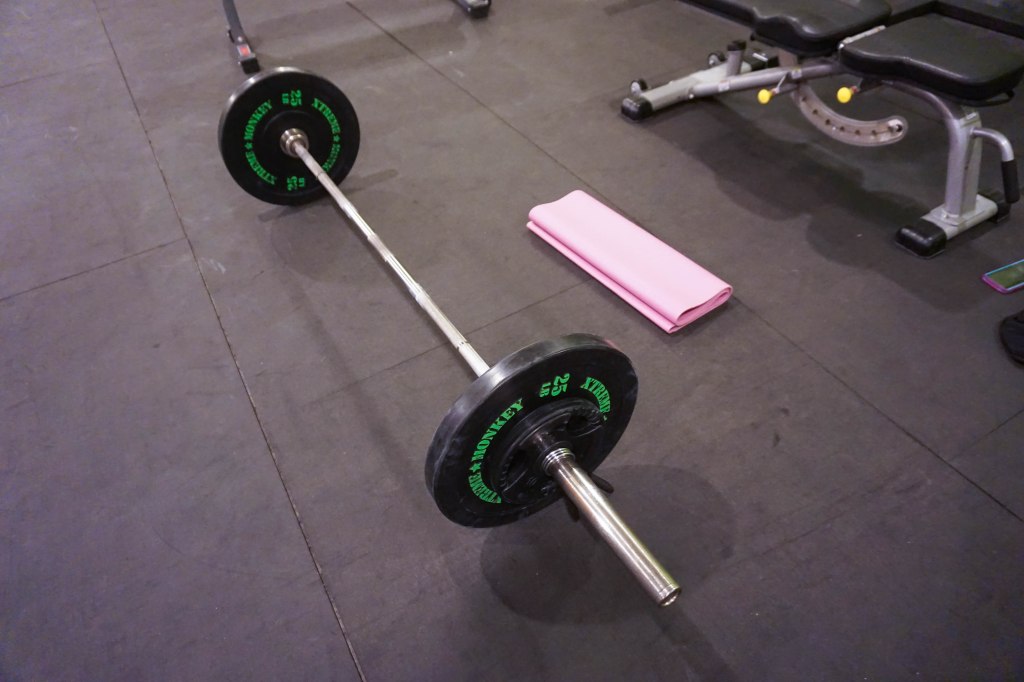
First you are going to have to gather the following basic items: a barbell, a weight collar/clamp, and some bumper plates (descriptions of these items can be found on my ‘Deadlifting for Beginners’ blog post here).
You are also going to have to get a yoga matt (which you can fold into a comfy pad) or a thick foam barbell pad, and a bench that sits comfortably at the middle of your back when you sit on the floor in front of it.

1. Make sure the bench will not move when you put your weight on it. This means putting weight plates down behind it or putting the bench up against a wall.
2. Put your pad on your barbell or put your folded matt on your hips.
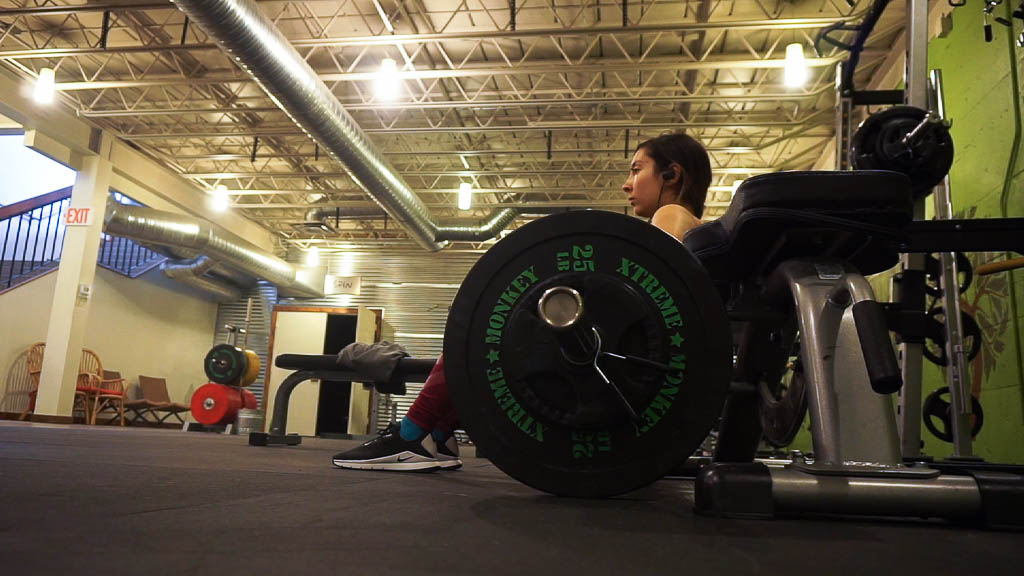
3. Roll the barbell towards you.
4. Bend your knees and bring your feet closer to you. They should be close enough that when you perform the movement, your knees form a right angle. Feet placement doesn’t really matter here, so find what’s comfortable for you. I personally find that feet that are hip width apart work best.
5. Place the barbell on your hip crease. Make sure it is comfortable on your body.
6. Position your back so that the bench is at the middle of it. You may have to lift yourself up higher on the bench in order to have more back support.
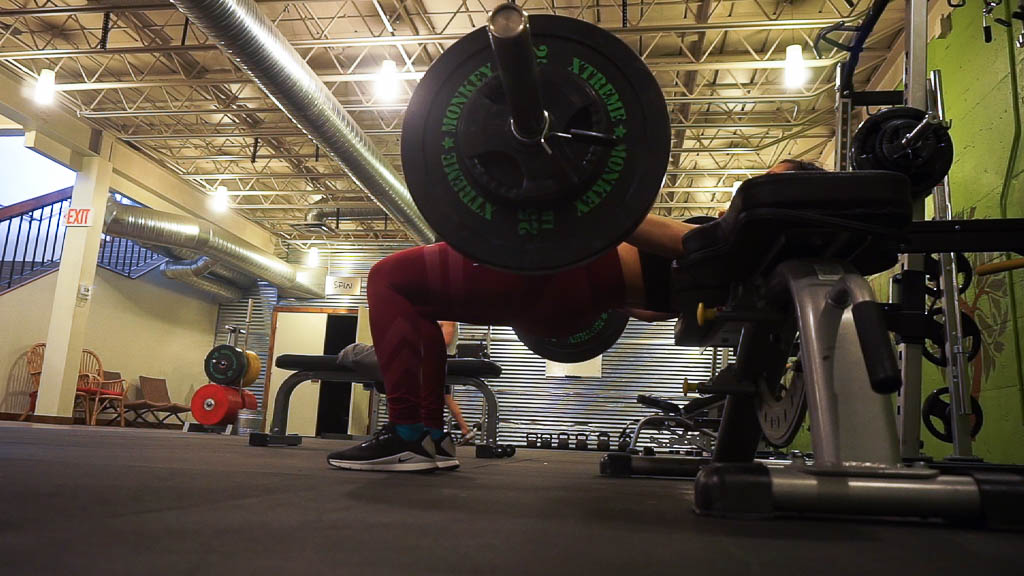
7. Keep your chin down and drive up with your hips. You should feel your butt muscles working at this point.
8. Hold for one count at the top of the movement.
9. Let your hips come back down.
Congratulations! You just performed a hip thrust! I recommend doing 8 sets of 6 repetitions. Regarding weight, beginners should start with just the bar and then slowly add on 10 pound weight plates as they get better at hip thrusting.
